The Guide to Oxy-Acetylene Welding
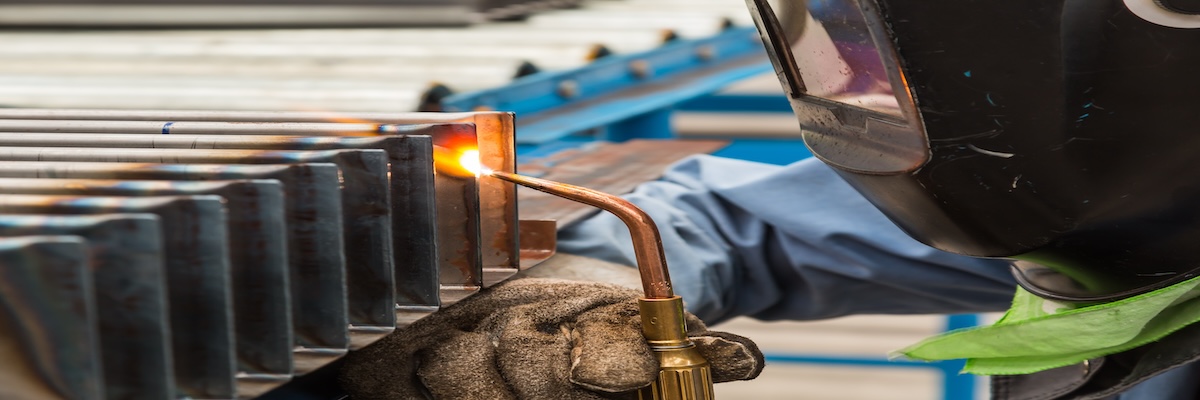
If you're new to the world of welding, oxy-acetylene welding may be a good place to start. This method is accessible and versatile, making it a popular choice for welding hobbyists and professionals of all skill levels. In this guide, get familiar with the advantages, equipment, processes, and applications of oxy-acetylene welding.
Table of Contents:→ Oxy-acetylene Welding Basics → Advantages of Welding with Oxy-Acetylene → Oxy-Acetylene Welding Equipment |
Oxy-acetylene Welding Basics
Oxy-acetylene welding (a subset of oxyfuel welding) is a process that uses a flame produced by mixing oxygen and acetylene gases to melt and fuse metal together. The process involves heating the metal to its melting point, and optionally adding a filler metal to create a strong bond between the two pieces of metal. Oxy-acetylene welding is commonly used for steel, but it can also be used for other metals such as aluminum and copper.
Advantages of Welding with Oxy-Acetylene
User Control
There are many forms of welding that force the operator to work at a precise pace, such as wire-feed welding methods like MIG or consumable electrode methods like stick welding.
One of the advantages of oxy-acetylene welding that makes it friendly for both beginners and experienced welders alike, is that the operator sets the pace themselves. This welding method gives the user more control over their movement speed, as they don’t have to contend with automated feeds or diminishing electrodes.
Low Temperature Gas Welding Applications
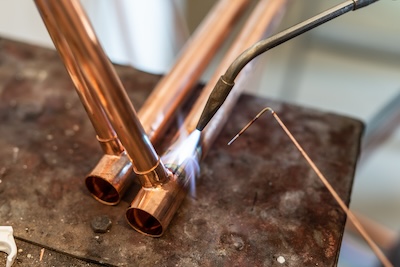
The term “low temperature” is relative here. When it comes to gas welding, low temperature applications refer to using metals with relatively low melting points, like aluminum which melts at 1,221°F and copper which melts at 1,984°F. In comparison, steels can have a melting point as high as roughly 2,800°F. Oxy-acetylene welding cannot reach temperatures as high as other welding methods, but this works to its advantage when dealing with low-temperature or thin materials.
Ease of Access
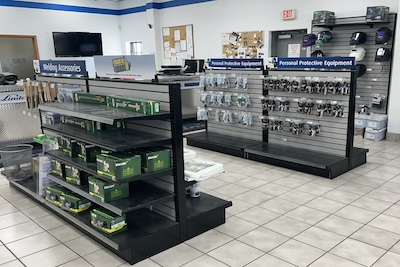
Getting supplies to start oxy-acetylene welding can be fairly easy as the equipment and gas cylinders are readily available from many retailers, including Linde’s Welding Gas and Equipment stores.
Portability
Oxy-acetylene welding equipment can be moved to perform any job on-location. Oxyfuel welding operators can usually fit all of their supplies onto a cart or case for easy transportation.
Oxy-Acetylene Welding Equipment
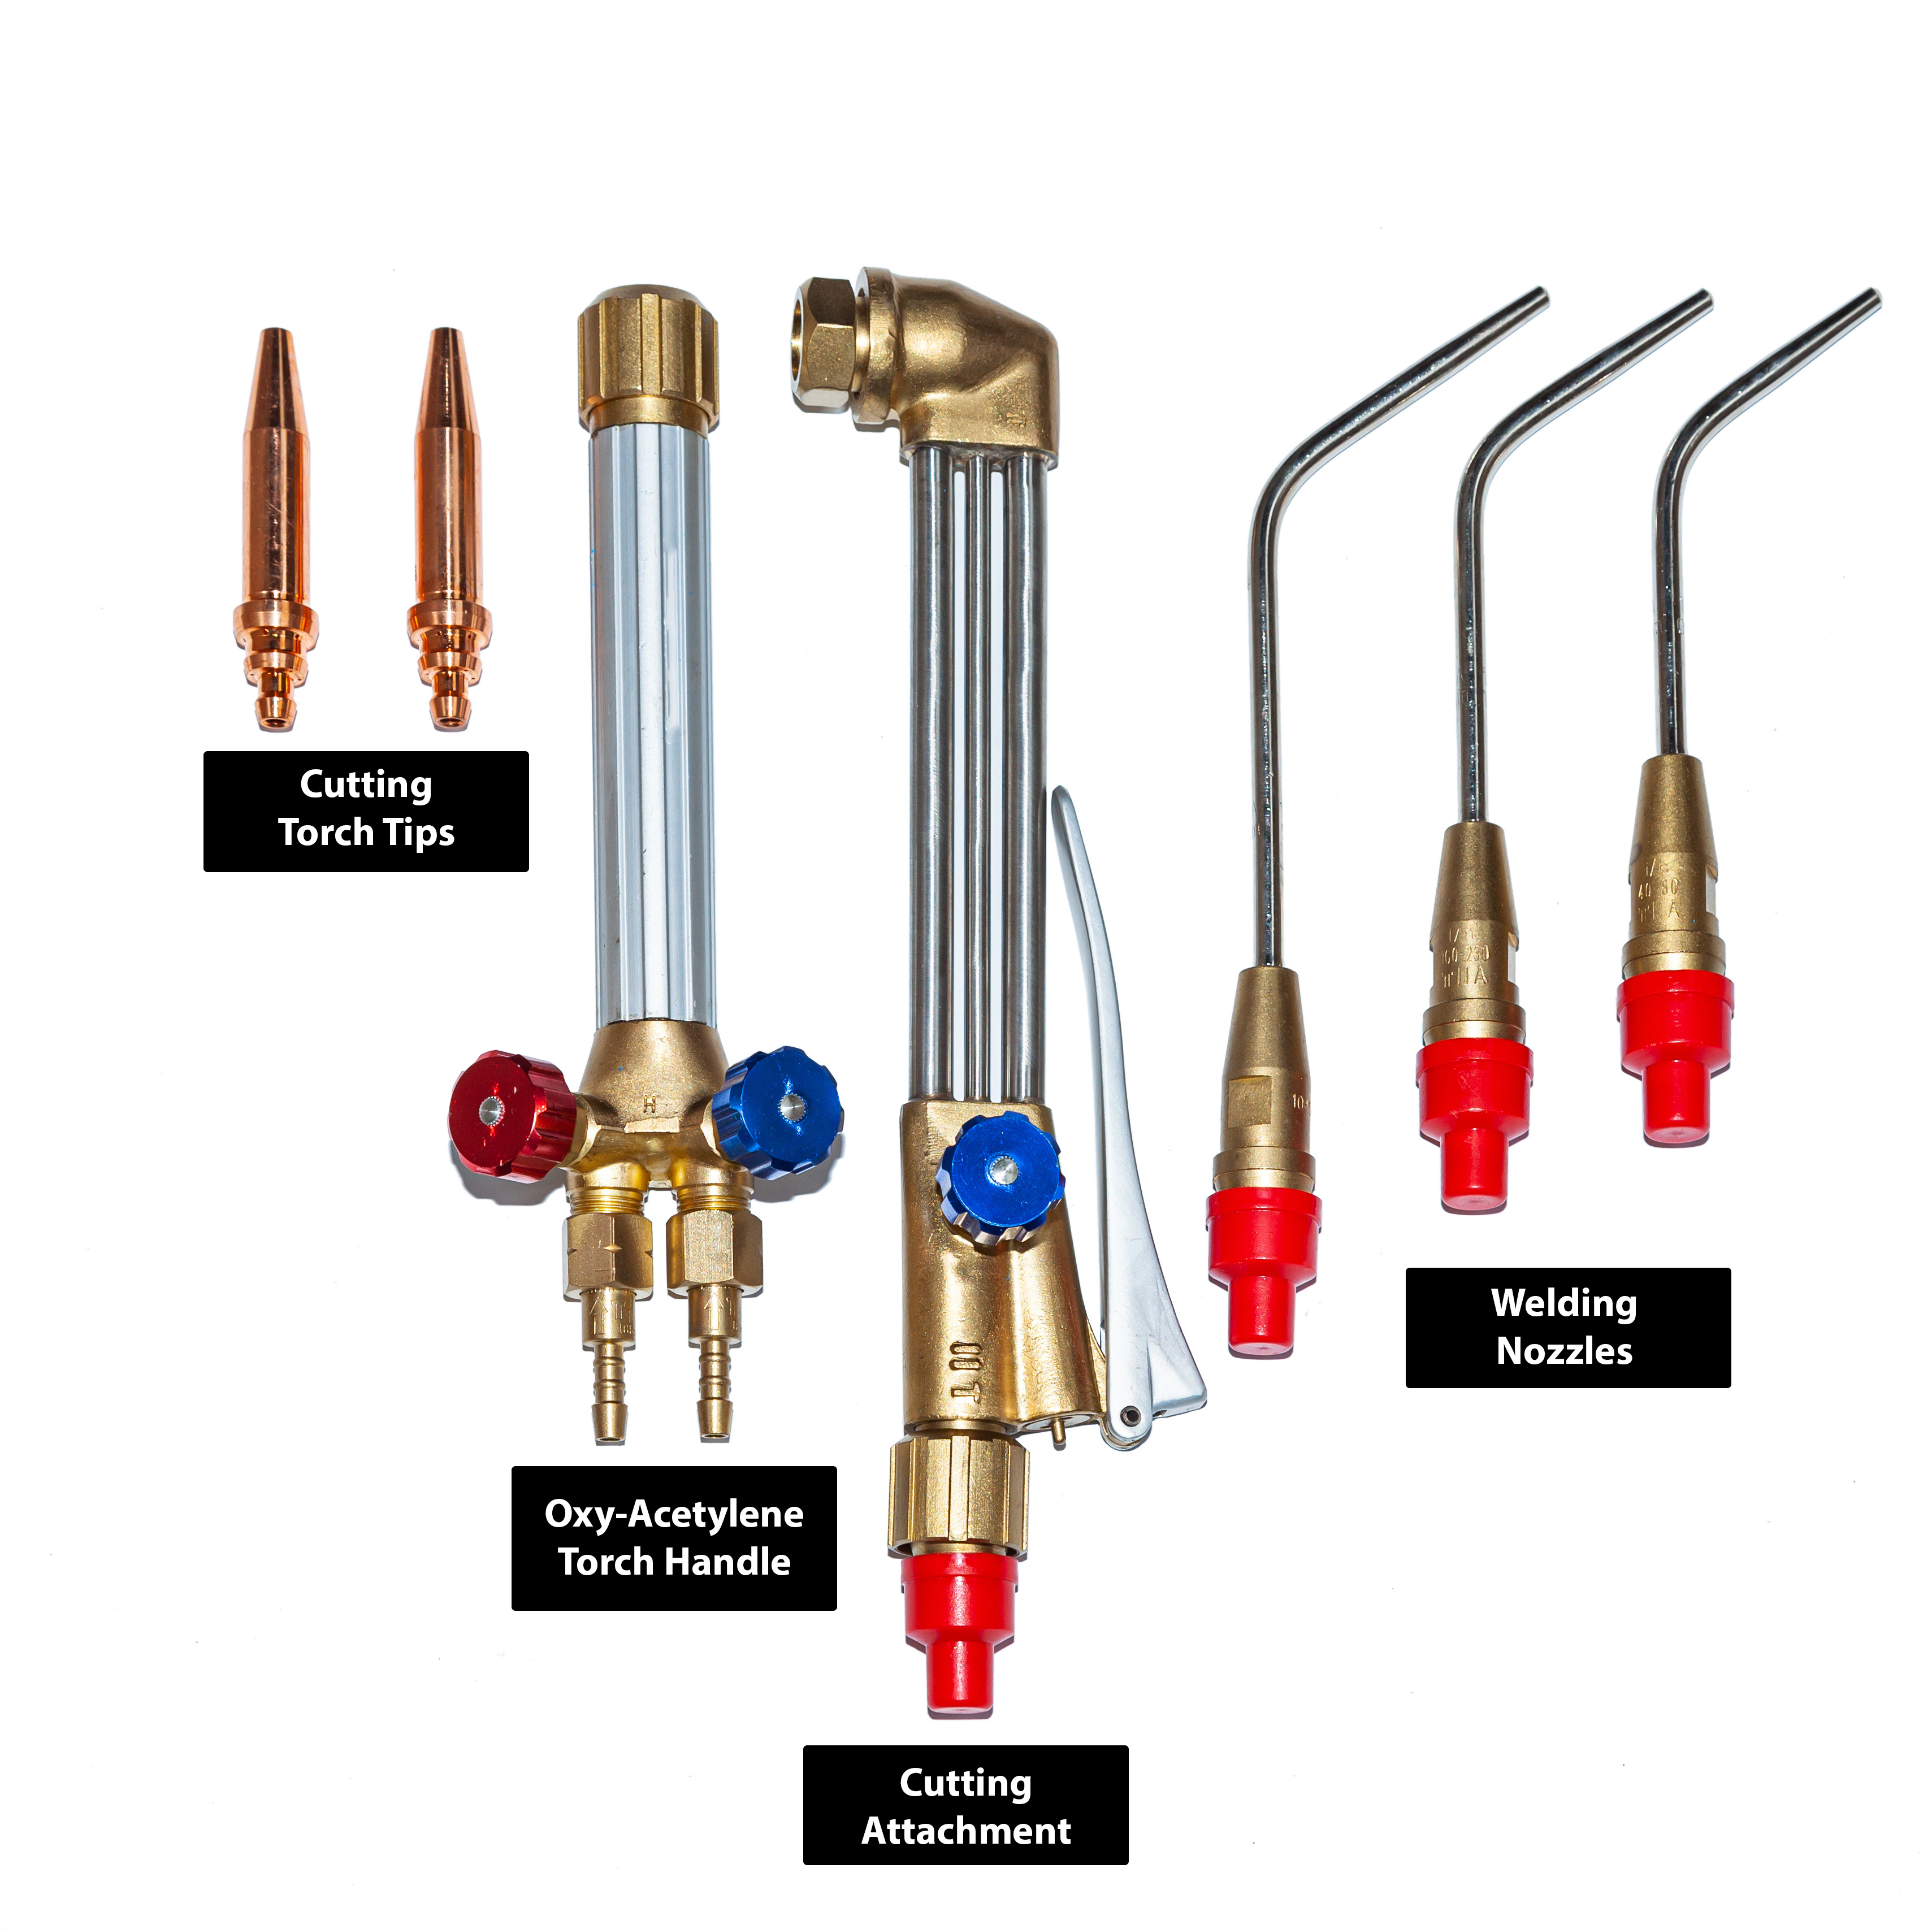
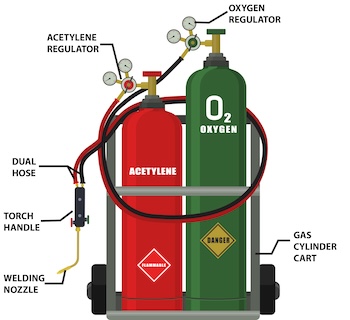
The equipment that makes oxyfuel welding possible is simple yet effective. Equipment necessary to begin oxyfuel welding includes:
- • Oxygen and acetylene tanks
- • Cart or tote to securely hold the cylinders
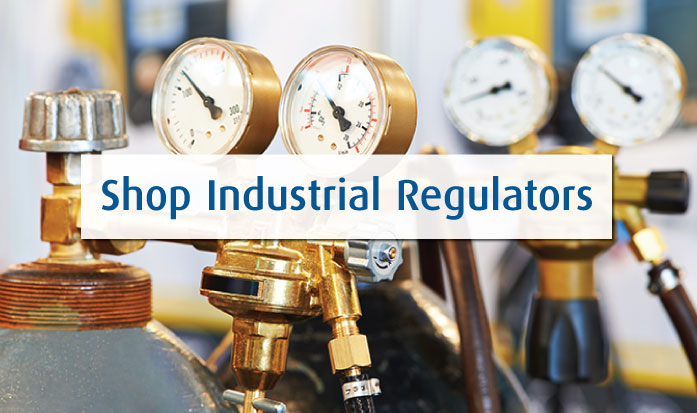
- • Oxygen and acetylene regulators
- • Torch handle
- • Welding nozzle
- • Dual hose
- • Striker
- • Personal Protective Equipment (PPE)
How to Use a Cutting Torch
Safe use of a cutting torch requires skill composed of knowledge, training, and experience. In addition, always follow the instructions provided by the manufacturer of the equipment you are using to cut. Here's a basic guide on how to use a cutting torch:
Step 1: Check Your Equipment
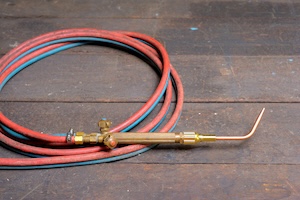
Before you begin using your cutting torch, verify that your equipment is properly set up. This includes connecting regulators to your oxygen and acetylene tanks as well as the hoses from the regulators to the torch and attaching the appropriate welding nozzle for the welding you'll be doing. Next, back out the regulator adjustment screws and close all torch valves. Slowly open the oxygen and acetylene cylinders to fully open. Then set your regulators to correct pressure for the welding nozzle you will be using. The target pressures will be found on a welding nozzle chart such as those published by Victor. These charts reference the thickness of the metal to be welded along with the correct welding nozzle and gas pressures. Next, separately purge the hoses to help ensure there is no mixed gas in the lines. Open the acetylene torch valve for a few seconds. Then close and repeat with the oxygen valve.
Step 2: Light the Torch
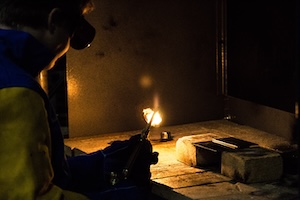
To light the torch, begin by making sure the torch is pointing in a safe direction. Continue by carefully opening the acetylene torch handle valve on the handle to 1/8 - ¼ turn and use a friction-based striker to ignite the flame at the tip.
Step 3: Adjust the Flame
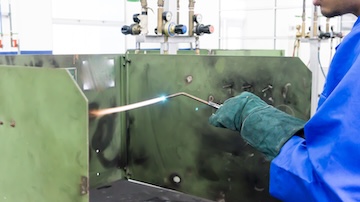
Once your flame is lit, continue to open the acetylene torch handle valve until the flame shows no sign of soot. Next, you need to adjust the torch to a neutral flame, which has equal amounts of oxygen and acetylene, which is generally best for welding and cutting. To achieve a neutral flame, you can slowly open the oxygen valve on the torch handle until the flame turns blue and the inner cone becomes more concentrated. Continue opening the oxygen valve until the inner cone is well defined and short.
Step 4: Tack Welding
When welding two freestanding pieces together, a tack weld may be appropriate. A tack weld is a small weld placed at the ends of the weld path before starting the full weld. Joining the two pieces at both ends prevents them from shifting and becoming misaligned during the weld process. To apply a tack weld, hold the torch in place at a 45-degree angle, just above the edge of the metal pieces you are welding, to pre-heat the workpiece. As the metal begins to glow and melt, move the torch in a circular motion between the two pieces of metal to create a puddle between the pieces, allowing the metal from each side to flow together. When the edges of both pieces liquify into one cohesive weld, you have joined to two pieces together in that spot. Remove the torch from the weld and repeat this on the other end of the weld area.
Step 5: Seam Welding
When starting a seam weld with an oxy-acetylene torch, it is important to utilize both the outer flame and the inner cone of the flame. Angling your welding torch with a forward facing 45-degree angle with the work piece allows the outer flame to pre-heat the metal that lies ahead in the weld path. This reduces the risk of welding defects like voids, inclusions, or incomplete fusion.

To start, bring the torch near the workpiece so that the outer flame is in contact with the joint. A circular or back-and-forth motion can help heat both edges of the joint evenly. The workpiece should become visibly hot, taking on a reddish-orange hue. Once the joint edges are pre-heated by the outer flame, bring the inner cone of the flame into contact with the joint. Again, a circular or back-and-forth motion can help both sides of the joint melt into each other. When the edges liquify into one cohesive bead, you have achieved coalescence and successfully started a weld pool. Next is to keep the weld pool moving.
Push, Don't Pull
Welding patterns can be classified as “push” or “pull” types. Oxyfuel welding is a push type welding pattern. Once the weld pool has formed, the operator then uses the torch to push the pool from right to left (or left to right, if the operator is left-handed). There are a variety of welding patterns to choose from, and every operator has their personal preference. Experiment with circular, zigzag, and straight patterns to find what works best for you.
The key to effectively producing an oxy-acetylene weld is to find the balance between heating the weld zone enough to penetrate through to the other side of the joint, but not so much that the metal liquefies, falls away and creates a void in the weldment. Keep a close eye on the weld pool as you progress to ensure that the metals coalesce into one cohesive bead, and that the bead penetrates the joint instead of sitting on top.
Apply Filler Rod As You Go
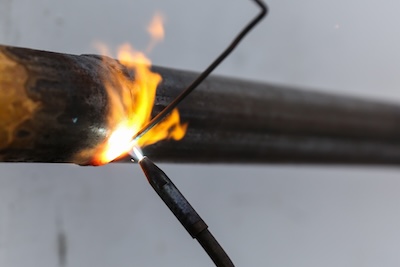
If using a filler metal in oxyfuel welding, operators carry the torch in their dominant hand and the filler rod in their non-dominant hand. Not only do they have to keep a steady pace to maintain the weld pool; they also have to find the right rhythm to introduce the welding filler rod to the pool. Each metal will behave differently in correspondence with its melting point, but the process follows the same general principles regardless of material choice.
To apply the filler metal to the weldment, first make sure that your weld pool has properly formed. Bring the tip of the rod into the flame, directly above the weld pool. Let the filler material melt into a single drop, then allow gravity to bring the drop into the weld pool. Remove the filler rod from the flame, then push the weld pool forward, and repeat through the duration of the weld. It is important to continuously monitor the remaining length of the filler rod.
Step 6: Turn Off the Torch
Once you've finished welding, turn off the torch. To turn off the torch, first close the oxygen valve on the cutting attachment. Turn the fuel gas valve on the torch handle off to extinguish the flame. Next, close the regulators by unscrewing the adjustment handles and close the tank valves. Last, bleed any remaining gas from the hoses by opening the torch head valves and then close them once the gas has stopped flowing.
Tips for Oxy-acetylene Torch Welding
Welding with an oxy-acetylene torch takes practice and skill, but with these tips, you can improve your technique and achieve better results:

Use the Right Welding Nozzle
The welding nozzle you use will depend on the thickness of the metal you will be welding. Make sure to check a tip chart, such as those published by Victor to see the right tip for the metal you are welding, as well as the correct gas pressures.
Keep Things Clean
Before welding, make sure the metal is clean and free of any oxidation, paint, or debris. This will help create a stronger weld. A wire wheel on a grinder should get the job done quickly and effectively. It’s common for torch tips to get clogged with repeated use, especially when welding with an oxy-acetylene torch. If you notice that your weld flame is not coming out neatly, turn off your equipment entirely and use a tip cleaner to clean the welding nozzle.
What is a Cutting Torch?
A cutting torch uses the same basic setup as an oxy-acetylene welding torch. The difference is that instead of a welding nozzle being attached to the torch handle, a cutting attachment and cutting tip are used.
How Is Torch Cutting Different from Welding?
While oxy-acetylene welding is used to fuse pieces of metal together, oxy-acetylene cutting is used to cut metal. The key difference between the two lies in what is attached to the torch handle. A cutting attachment includes a lever mechanism that opens a valve to release a center stream of higher pressure oxygen that blows the molten metal away, creating the cut.
NOTE
The information provided here is just an overview offered for the convenience of the reader and not a substitute for education, training, and development of the skills needed to use a cutting torch safely and effectively.
